Showing posts with label proportions. Show all posts

Friday, April 17, 2020

How to Draw a Portrait from a 3/4 view


Have you ever so someone wearing some particular accessory that captured your eye?  As a artist you have the ability to recreate what you see that inspires you.  When it comes to doing or creating a portrait whether it is a drawing or painting you have the artistic license to emphasis what is important in you art work.  As seen here in the picture above that is what was done. 
In the blog post I would like to share with you how I created this drawing with the purpose bring into focus the hair bow.  


Here is my process into making the portrait drawing.

I decided to create this portrait drawing from a 3/4 view.  In this first step I created a three dimensional line drawing as seen here below.


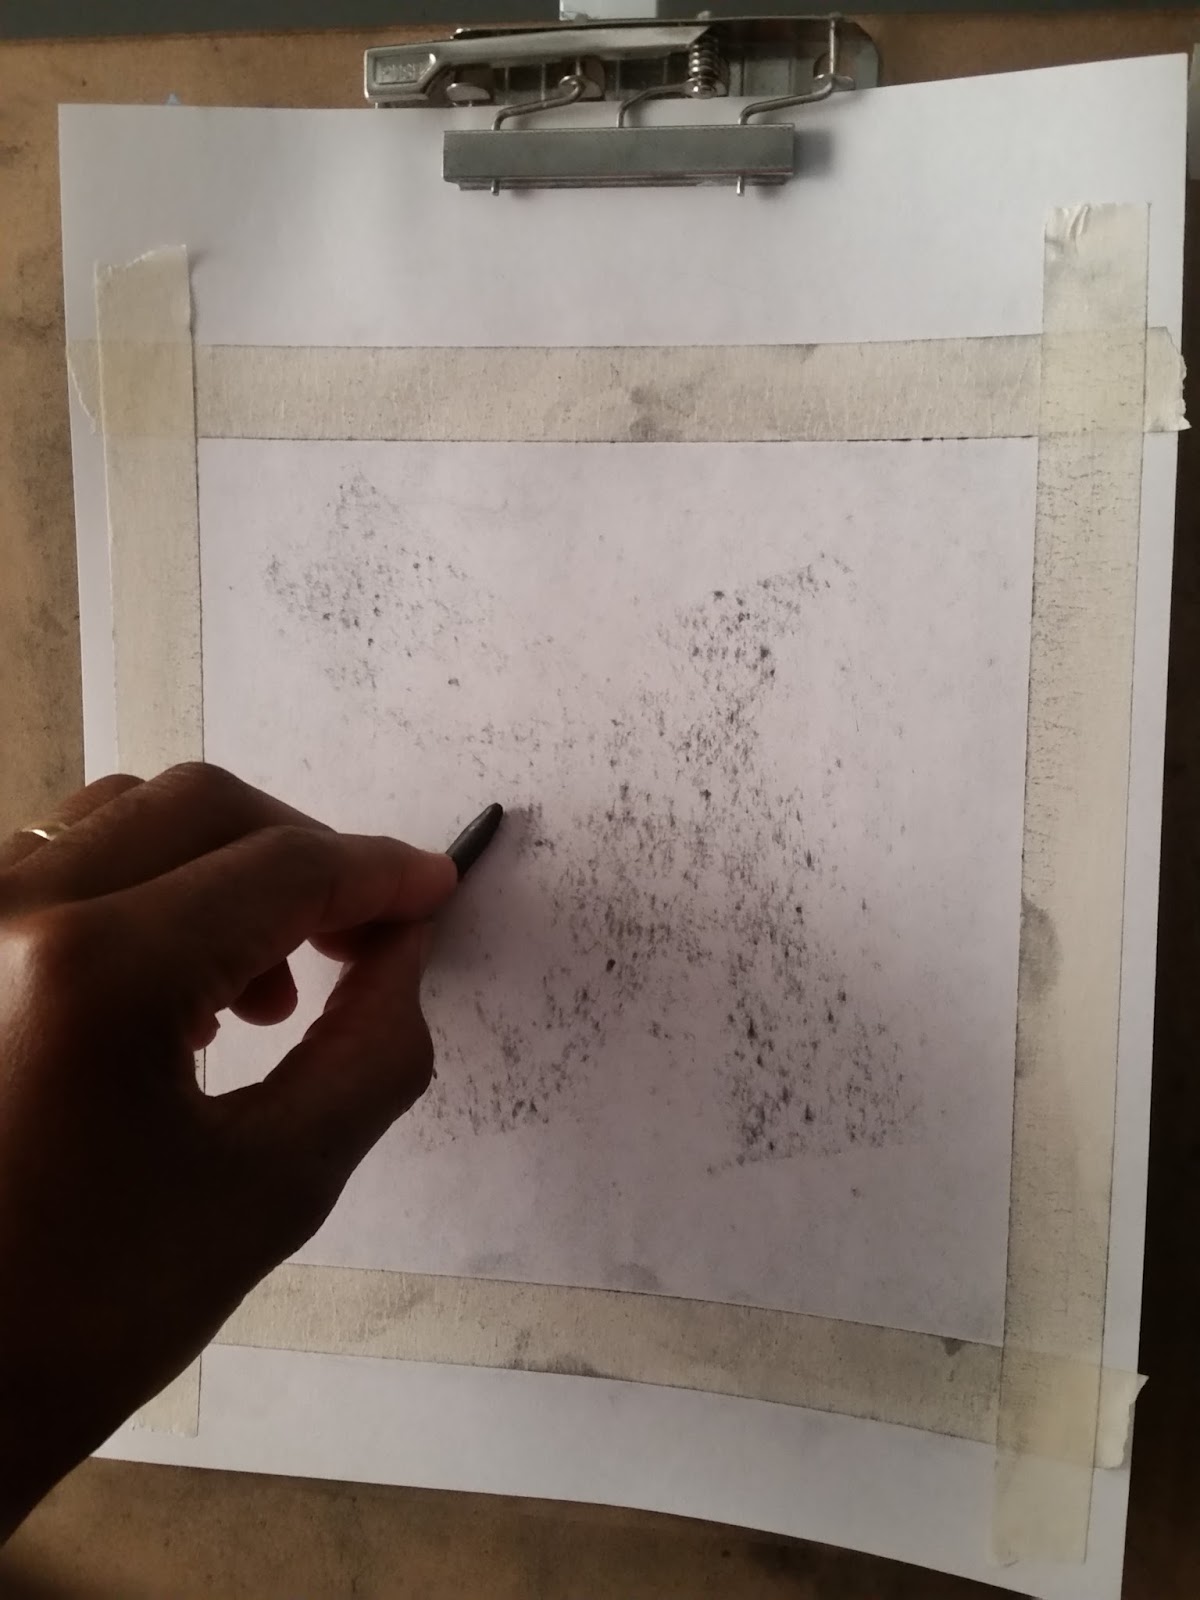
I started out using vine charcoal and I toned my paper down by using the side of it. Next, I proceeded by plot marking my paper for the most distant width and height points which is not seen on the picture above.
I placed in the features of the face by establishing the proportions with only lines.  Then I went into more detail by rounding or curving the lines to make the eyes nose and lips as seen above.


For the second step I created a value drawing of the portrait.


Here in the picture above I have shaded in the neck and established the garment on the shoulder.  By doing this I have made the drawing to start appearing more three dimensional.  I am drawing from my easel which helps me to not have distortions in my view.  The lighting was poor at the time when this drawing was first started. Since then I have increased the light in my studio.


For the third step I completely finished the charcoal drawing.


In this step I completely laid in all of the features of the portrait and value ranges.  Now the foundation has be establish to introduce color to the hair bow.


This next and final step color is added to the drawing.


I introduced color to the drawing in order for the eye of the viewer to focus on the hair bow.  I choose this color scheme because it is rare to see green and yellow in clothing.  In order for me to accomplish this I used prismacolor pencil which is a wax pigment to it.  I did not use any solvents in the particular drawing but in others I have.  This solvents help break down the wax therefore making it easy to blend and cover completely the tooth of the paper.  It is better to purchase paper that has  tooth to it, in other words, paper that has texture to it.  This will support the extra media added to it.  It is good to purchase papers that are thick and supportive of fluid added to it for example mix media paper and watercolor paper.


Bow & Beauty done on Strathmore drawing paper 14"×17" in charcoal, color pencil and soft pastel.


This is the final look to the drawing.  You can now see the ear rings are added to it.  This draw was originally stored back in 2015 and was completed this year in 2020.  If you are interest in more post of the drawing I produce then please visit my YouTube channel under Dee Weaver Art there you will find over 50 videos.  Also visit my online gallery at www.fineartamerica.com and www.artpal.com there you can fine to purchase at your choosing.  Also you can email me at deeweaver15@gmail.com  Thank you for visiting my blog be blessed.


Monday, January 25, 2016

Charcoal Portrait Process on Gray Tone Paper


I wanted to do a blog on the process of me doing a charcoal portrait.  So I decided to draw a 3/4 view of a bearded man.  Before I started this drawing, I took a picture of the supplies.  In this picture starting at the top left hand side I used vine charcoal sticks, paper stump, generals black charcoal pencil, generals white charcoal pencil, Generals 4H, 2H, HB graphite Master's Touch 1.5 hog hair soft flat brush, ( I used to blend and brush off charcoal dust) chamois cloth, knead eraser and 18" metal ruler.


Step 1
 I used vine charcoal and 4H generals graphite pencil.  I started out with a horizontal line to establish the overall with.  Next I drew a vertical line in order to establish the overall height.  The lines intercept to form a axis.


Step 2
I'm only using vine charcoal now.  I drew out the horizontal dimensions for the hair line, brow line, nose line, and chin line.


 Step 3
I drew out the contour of the head without a curve line using vine charcoal.


Step 4
I used the metal ruler to draw out the angles.   I drew out the ear contour, hair line contour, beard contour and established the proportions and angle of the feature of the face.  Also I used vertical lines or plumb lines to show the proportions of the widths of eye socket.  You can start to see the planes beginning to form.


Step 5
I used the metal ruler to establish angle lines and plumb lines.  I did this to confirm the proportions of the eye width and width of the mouth.  If you notice I still have not used a curved line.


Step 6
I begin to slightly shade in the planes of the face using the generals 2H graphite pencil to shade in the side planes of the head nose.  I also used it to shade in the bottom plane of the eye socket the planes of the lips. At this stage there is minimum of tones only two.


Step 7
I continue to use vine charcoal and I begin to use my HB generals graphite pencil on and around the eyes.
I used chamois cloth to erase the angle lines.


Step 8
I continue to use vine charcoal and I darkened the value using a blending stump to push the charcoal into the tooth of the paper.  I also used the vine charcoal to create texture for the beard and develop the volume of hair.


Step 9
I also use the vine charcoal to develop the texture of the hair.  As you can see I used it to add more value to the neck.  I went on to add white charcoal to establish the highlights and 4B charcoal pencil for the beard and hair.


                       "The Bearded Man" done in graphite and charcoal on gray tone paper. © DWeaver Art                    


Monday, June 15, 2015

Charcoal and Graphite Still Life Drawing


Martini Glass and Vase Still Life


Step 1 Crop off paper with masking tape


Step 2 Take the side of charcoal stick and rub all over the surface of paper.


Step 3 Use a chamois cloth by rubbing the charcoal into the paper till you get a light gray tone.


Step 4 This step is optional. I used a homemade view finder which I made to capture the vertical, 
            horizontal and diagnal lines to gauge the proportions.


Step 5  I used a pencil to gauge the width and vertical of the still life objects. I fully extended my arm with a pencil in hand and then closing one eye.  Afterward transfer measurements on to paper.


Step 6  I began connecting the measured widths, verticals and angles of the still life using a H4 pencil.


Step 7 Next began to add tone texture and contrast using a vine charcoal stick. In this photo I was adding detail and laying out shadows in the background.  I also used a skewer to extend the short charcoal with masking tape.


Step 8 I used a charcoal pencil 4B to add darker values and defined the details.  I also used a blending stick as in the photo in my hand. I used it to rub the charcoal into the surface of the paper.


Final Results


Friday, February 27, 2015

Vases and Cup Still Life


Still life drawing can help improve your drawing skills


Vases and still life is a drawing I produced last year early in 2014 on a Friday night. I was inspired to drawing this because I wanted to improve in the skill of finding the correct porportions and drawing for real life instead of drawing form a photograph.  In college that was all we did it seemed was draw and paint still life.  We did it so such I grew to hate it but now my mindset has changed to like it.  For those of you how now have that old mindset I used to have toward still life well think again. It is a wonderful exercise in grooming your drawing skill and developing a better drawing eye.  I now have a better appreciation for drawing still lifes because it helps me to drawing better by seeing proportions and angles properly.  The more I draw from still life the better I will be in capturing the form or forms in view of my sight.