Showing posts with label charcoal. Show all posts

Friday, April 17, 2020

How to Draw a Portrait from a 3/4 view


Have you ever so someone wearing some particular accessory that captured your eye?  As a artist you have the ability to recreate what you see that inspires you.  When it comes to doing or creating a portrait whether it is a drawing or painting you have the artistic license to emphasis what is important in you art work.  As seen here in the picture above that is what was done. 
In the blog post I would like to share with you how I created this drawing with the purpose bring into focus the hair bow.  


Here is my process into making the portrait drawing.

I decided to create this portrait drawing from a 3/4 view.  In this first step I created a three dimensional line drawing as seen here below.


I started out using vine charcoal and I toned my paper down by using the side of it. Next, I proceeded by plot marking my paper for the most distant width and height points which is not seen on the picture above.
I placed in the features of the face by establishing the proportions with only lines.  Then I went into more detail by rounding or curving the lines to make the eyes nose and lips as seen above.


For the second step I created a value drawing of the portrait.


Here in the picture above I have shaded in the neck and established the garment on the shoulder.  By doing this I have made the drawing to start appearing more three dimensional.  I am drawing from my easel which helps me to not have distortions in my view.  The lighting was poor at the time when this drawing was first started. Since then I have increased the light in my studio.


For the third step I completely finished the charcoal drawing.


In this step I completely laid in all of the features of the portrait and value ranges.  Now the foundation has be establish to introduce color to the hair bow.


This next and final step color is added to the drawing.


I introduced color to the drawing in order for the eye of the viewer to focus on the hair bow.  I choose this color scheme because it is rare to see green and yellow in clothing.  In order for me to accomplish this I used prismacolor pencil which is a wax pigment to it.  I did not use any solvents in the particular drawing but in others I have.  This solvents help break down the wax therefore making it easy to blend and cover completely the tooth of the paper.  It is better to purchase paper that has  tooth to it, in other words, paper that has texture to it.  This will support the extra media added to it.  It is good to purchase papers that are thick and supportive of fluid added to it for example mix media paper and watercolor paper.


Bow & Beauty done on Strathmore drawing paper 14"×17" in charcoal, color pencil and soft pastel.


This is the final look to the drawing.  You can now see the ear rings are added to it.  This draw was originally stored back in 2015 and was completed this year in 2020.  If you are interest in more post of the drawing I produce then please visit my YouTube channel under Dee Weaver Art there you will find over 50 videos.  Also visit my online gallery at www.fineartamerica.com and www.artpal.com there you can fine to purchase at your choosing.  Also you can email me at deeweaver15@gmail.com  Thank you for visiting my blog be blessed.


Tuesday, June 27, 2017

How to Draw a Still Life in Charcoal of Sugar Bowl and Tea Pitcher


This is my art set up or display for a live drawing.  I have my drawing pad to the left and my still life display to the right.  I am left handed and by setting up this display as so it free's my right hand to make comparative measurements.  I have cut out a cardboard box.  A hole is cut at the top of the box to create an opening to cast light and shadow on the display.


This is the beginning stage the line drawing.  I have drawn in contour lines to outline the form.


I have drawn in the details at this stage.  However, there is no values created through shading at this point.


Now I have taken the time to shade in the values, especially the background.  Also you may notice the cast shadow is formed.


This is the final stage.  If you observe diligently, I have refined the details by darkening the values even more.  At the bottom of the photo there are my drawing tools.  I used a skewer stick to measure my subject.  I have in the picture a paper stump, willow charcoal sticks, sand paper to sharpen my charcoal, chamois cloth and eraser.   I did not use any graphite on this drawing only charcoal although they are with the supplies.


Monday, March 14, 2016

Monday, January 25, 2016

Charcoal Portrait Process on Gray Tone Paper


I wanted to do a blog on the process of me doing a charcoal portrait.  So I decided to draw a 3/4 view of a bearded man.  Before I started this drawing, I took a picture of the supplies.  In this picture starting at the top left hand side I used vine charcoal sticks, paper stump, generals black charcoal pencil, generals white charcoal pencil, Generals 4H, 2H, HB graphite Master's Touch 1.5 hog hair soft flat brush, ( I used to blend and brush off charcoal dust) chamois cloth, knead eraser and 18" metal ruler.


Step 1
 I used vine charcoal and 4H generals graphite pencil.  I started out with a horizontal line to establish the overall with.  Next I drew a vertical line in order to establish the overall height.  The lines intercept to form a axis.


Step 2
I'm only using vine charcoal now.  I drew out the horizontal dimensions for the hair line, brow line, nose line, and chin line.


 Step 3
I drew out the contour of the head without a curve line using vine charcoal.


Step 4
I used the metal ruler to draw out the angles.   I drew out the ear contour, hair line contour, beard contour and established the proportions and angle of the feature of the face.  Also I used vertical lines or plumb lines to show the proportions of the widths of eye socket.  You can start to see the planes beginning to form.


Step 5
I used the metal ruler to establish angle lines and plumb lines.  I did this to confirm the proportions of the eye width and width of the mouth.  If you notice I still have not used a curved line.


Step 6
I begin to slightly shade in the planes of the face using the generals 2H graphite pencil to shade in the side planes of the head nose.  I also used it to shade in the bottom plane of the eye socket the planes of the lips. At this stage there is minimum of tones only two.


Step 7
I continue to use vine charcoal and I begin to use my HB generals graphite pencil on and around the eyes.
I used chamois cloth to erase the angle lines.


Step 8
I continue to use vine charcoal and I darkened the value using a blending stump to push the charcoal into the tooth of the paper.  I also used the vine charcoal to create texture for the beard and develop the volume of hair.


Step 9
I also use the vine charcoal to develop the texture of the hair.  As you can see I used it to add more value to the neck.  I went on to add white charcoal to establish the highlights and 4B charcoal pencil for the beard and hair.


                       "The Bearded Man" done in graphite and charcoal on gray tone paper. © DWeaver Art                    


Monday, October 19, 2015

Charcoal and Graphite Thumbnail Landscape


You may wonder what is a thumbnail drawing.  A thumbnail drawing is a small scale drawing that is done very quickly to place down the general features of a subject.
I like to use thumbnail drawings to have a idea as how it may look as a whole on a small scale.
Thumbnail drawings are very resourceful in the fact that you can refer back to the ideas you intended to capture or focus on.  Also thumbnail drawings help you save on the cost of materials you use because that are small.  By doing a thumbnail drawing you will have basically your blueprint for what your goal of your painting or drawing will look like.


Materials Needed

4B Charcoal Pencil
Blending Stump
Knead Eraser
Willow (Vine) Charcoal Stick
Gray and White soft pastel chalk
H, 2B Graphite Pencils
Ruler


Use a ruler to crop off your thumbnail 3"x4" inches.  
Next draw out your 6 range value scale with a ruler and an H graphite pencil.  
Then divide it into 6 squares. You will fill out each value scale using your 4B charcoal pencil, willow charcoal stick, gray soft pastel chalk, and white soft pastel chalk using your blending stump.  The darkest values with charcoal pencil 4B.  
The next value going from left to right you will use a willow charcoal stick then blend into paper with blending stump.  
Next use the same willow charcoal stick but this time use less pressure with just a few hatch mark and blend marks in to paper using you paper stump blender.
Next use your gray soft pastel and blend it into paper with stump.
Next use gray soft pastel and white soft pastel chalk.  Shade it using a hatch method into the paper and blend using blending stump. Also if necessary if range looks too dark from previous range, use your knead eraser to lighten the value up.
The last value scale use just a little press and a few marks using your gray pastel.  Complete the light range of value using the white charcoal applying heavy pressure and DON'T blend.
Finally, use your gray soft pastel chalk using the side of it to push into the paper to give it a gray tone.


Use your 2B graphite pencil and produce your line drawing of you landscape.


Complete your thumbnail drawing referring to your 6 range value scale at the bottom of your thumbnail. Block in the negative shapes of your darkest values first from the foreground.  Progress to get lighter values as you proceed to the background.

I hope this blog on why I use and produce my thumbnail drawings have helped you.
Thank you all for taking the time to view my blog. 

Monday, September 28, 2015

Still Life Drawing in Charcoal


This is a still life drawing of a hair brush, bottle of Listerine and a barber brush. This drawing was done with  2H graphite pencil B4 charcoal pencil and vine charcoal.

Monday, July 13, 2015

Mixed Media Landscape Painting

For the past 2 weeks I have been working with mixed media in my art work particularly in my abstract paintings. I have been working with watercolor, soft pastels, charcoal, and prismacolor pencil all on one painting.  For those who are not familiar with the term mixed media it means a  technique involving the use of two or more artistic media, such as ink and pastel or painting and collage, that are combined in a single composition.    I have worked in mixed media before only with watercolor and prismacolor pencil but not in more than two.  I have been getting more comfortable with three or more.
                                                                                                                                                                     

Reference Photo of "Colorful Sky Over Shore


I cropped off the painting with masking tape first. began the painting by mixing watercolor paint on a glass pallete before to lay out my colors.  Next I wet the entire surface with water using a large liner brush. The paper that I used for this painting  was Canson watercolor paper on the smooth side or back side. Then I used a small liner brush in the details of the clouds.  


I continued with most of the painting appling watercolor using a small liner brush to the paper. As you can see in the painting below I also added details and waves to the water and reflection of light.


I continued to add more color to the surface after the paper was dry.  I use a blow drier most of the time when I paint for a quicker process.


Here is the final image of the painting 11x13cm done with watercolor, soft pastels and charcoal.


Monday, June 15, 2015

Charcoal and Graphite Still Life Drawing


Martini Glass and Vase Still Life


Step 1 Crop off paper with masking tape


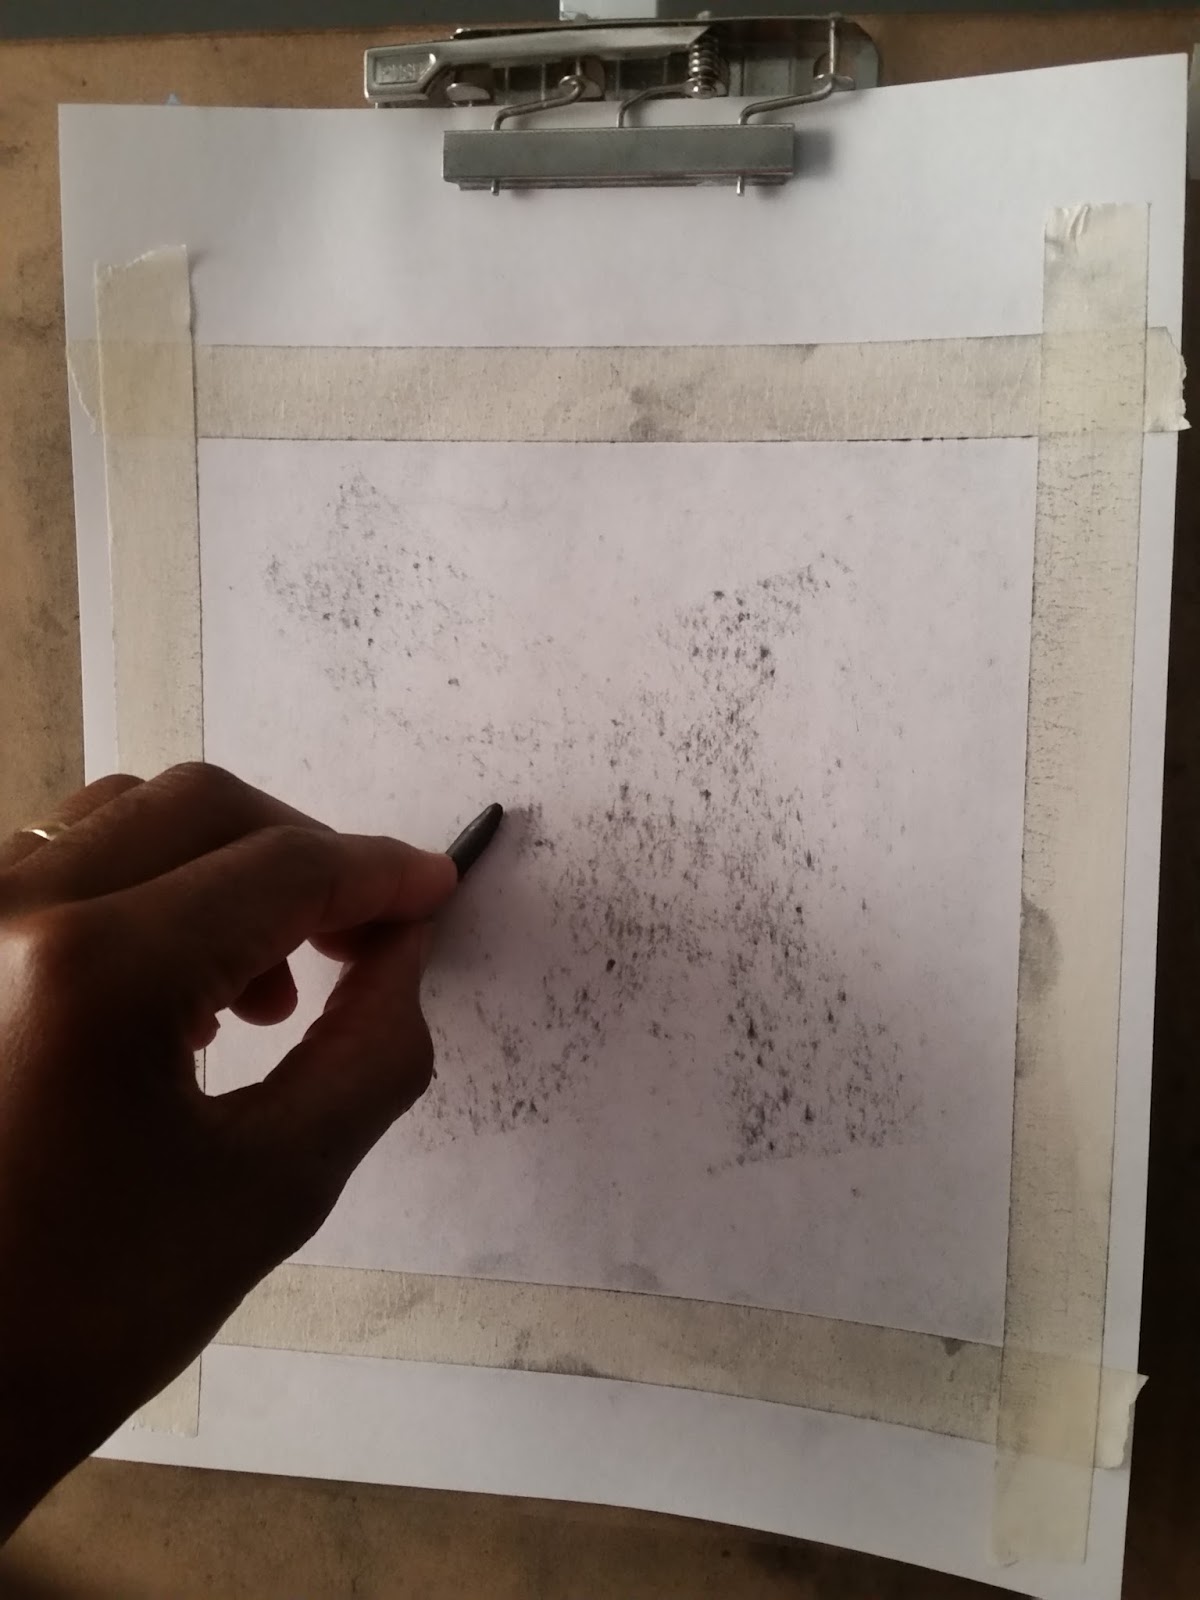
Step 2 Take the side of charcoal stick and rub all over the surface of paper.


Step 3 Use a chamois cloth by rubbing the charcoal into the paper till you get a light gray tone.


Step 4 This step is optional. I used a homemade view finder which I made to capture the vertical, 
            horizontal and diagnal lines to gauge the proportions.


Step 5  I used a pencil to gauge the width and vertical of the still life objects. I fully extended my arm with a pencil in hand and then closing one eye.  Afterward transfer measurements on to paper.


Step 6  I began connecting the measured widths, verticals and angles of the still life using a H4 pencil.


Step 7 Next began to add tone texture and contrast using a vine charcoal stick. In this photo I was adding detail and laying out shadows in the background.  I also used a skewer to extend the short charcoal with masking tape.


Step 8 I used a charcoal pencil 4B to add darker values and defined the details.  I also used a blending stick as in the photo in my hand. I used it to rub the charcoal into the surface of the paper.


Final Results


Friday, April 3, 2015

Charcoal Drawing Process of Face Upclose


Charcoal Drawing of Hair and Wrinkled Skin


This drawing in charcoal was done to work on my portrait drawing skill in this media.  My goal was to learn how to create the illusion of wrinkles on paper.  As I worked on this drawing which was done in April of 2013 I developed my skill to work in charcoal better. As a result of this drawing, I gained an understanding of shading in charcoal. This drawing is 12 x 14 inches.  
This became the final stage in the drawing where I added hair and highlights around the iris of the eye. Now you notice the grey of the hair in his mustashe and eye brows.  The pupil and iris is now completed. 


At this stage I had continue to lay down more charcoal in the regions of the face where there was contrast in the earilier stage. Now this more tones in the shadow areas.  At this point there is no hair yet on the form. 


This is the earily stage of the drawing where charcoal was layed down in the regions of the face to develope form. You see the beginning stage of wrinkle lines around the eye brow. Pores was added on the nose.