Showing posts with label chamois cloth. Show all posts

Tuesday, June 27, 2017

How to Draw a Still Life in Charcoal of Sugar Bowl and Tea Pitcher


This is my art set up or display for a live drawing.  I have my drawing pad to the left and my still life display to the right.  I am left handed and by setting up this display as so it free's my right hand to make comparative measurements.  I have cut out a cardboard box.  A hole is cut at the top of the box to create an opening to cast light and shadow on the display.


This is the beginning stage the line drawing.  I have drawn in contour lines to outline the form.


I have drawn in the details at this stage.  However, there is no values created through shading at this point.


Now I have taken the time to shade in the values, especially the background.  Also you may notice the cast shadow is formed.


This is the final stage.  If you observe diligently, I have refined the details by darkening the values even more.  At the bottom of the photo there are my drawing tools.  I used a skewer stick to measure my subject.  I have in the picture a paper stump, willow charcoal sticks, sand paper to sharpen my charcoal, chamois cloth and eraser.   I did not use any graphite on this drawing only charcoal although they are with the supplies.


Monday, January 25, 2016

Charcoal Portrait Process on Gray Tone Paper


I wanted to do a blog on the process of me doing a charcoal portrait.  So I decided to draw a 3/4 view of a bearded man.  Before I started this drawing, I took a picture of the supplies.  In this picture starting at the top left hand side I used vine charcoal sticks, paper stump, generals black charcoal pencil, generals white charcoal pencil, Generals 4H, 2H, HB graphite Master's Touch 1.5 hog hair soft flat brush, ( I used to blend and brush off charcoal dust) chamois cloth, knead eraser and 18" metal ruler.


Step 1
 I used vine charcoal and 4H generals graphite pencil.  I started out with a horizontal line to establish the overall with.  Next I drew a vertical line in order to establish the overall height.  The lines intercept to form a axis.


Step 2
I'm only using vine charcoal now.  I drew out the horizontal dimensions for the hair line, brow line, nose line, and chin line.


 Step 3
I drew out the contour of the head without a curve line using vine charcoal.


Step 4
I used the metal ruler to draw out the angles.   I drew out the ear contour, hair line contour, beard contour and established the proportions and angle of the feature of the face.  Also I used vertical lines or plumb lines to show the proportions of the widths of eye socket.  You can start to see the planes beginning to form.


Step 5
I used the metal ruler to establish angle lines and plumb lines.  I did this to confirm the proportions of the eye width and width of the mouth.  If you notice I still have not used a curved line.


Step 6
I begin to slightly shade in the planes of the face using the generals 2H graphite pencil to shade in the side planes of the head nose.  I also used it to shade in the bottom plane of the eye socket the planes of the lips. At this stage there is minimum of tones only two.


Step 7
I continue to use vine charcoal and I begin to use my HB generals graphite pencil on and around the eyes.
I used chamois cloth to erase the angle lines.


Step 8
I continue to use vine charcoal and I darkened the value using a blending stump to push the charcoal into the tooth of the paper.  I also used the vine charcoal to create texture for the beard and develop the volume of hair.


Step 9
I also use the vine charcoal to develop the texture of the hair.  As you can see I used it to add more value to the neck.  I went on to add white charcoal to establish the highlights and 4B charcoal pencil for the beard and hair.


                       "The Bearded Man" done in graphite and charcoal on gray tone paper. © DWeaver Art                    


Monday, August 10, 2015

Charcoal Portrait of Head Wrapped Woman


I have been drawing portraits for many years and I truly enjoy drawing with charcoal.
Last week I took the time to draw a portrait of a woman wearing a head wrap.  This is actually my fourth drawing of a woman wearing a head wrap.  I just find it very intriguing.  So I drew this lady with a head wrap.


The paper is white to began with but I file done some vine charcoal using sand paper right over the paper.  Then I use a chamois cloth and rub it all over the paper.  This gives the paper some value. By doing this it increases automatically your value range. The more value you have the more appealing to the eye it will be.


Next a vine charcoal stick to drawing in a simple line drawing of the basic form and angles.


As I continue to pull the charcoal around loosely I also add a little more detail to the line drawing.


Now when my line drawing is satisfying I began to add in some proportions and contour lines. I also lay out the future shadows planes of the face.


Now I began to work on adding values to the line drawing with the use of a cotton swab.  I always start adding the detail in first around the eyes then I work my away outward.


At this stage I continue to add more value you with each passage layering more charcoal to the paper making it more darker.  As you can see there has been allot of detail added to the drawing now.


I usually have the option of using a cotton swab or a paper stump to push more charcoal into the paper.  This blends it into the paper for either a subtle change in value as with a soft edge or a hard edge as in creating contrast in value.


I wanted to capture my use of extending a short piece of charcoal by using a string and a skewer.  I tie the short piece of charcoal to the end of the skewer.  This increases length and use of the charcoal. 


Here is the completed drawing with my signature.  14 x 17 on Bristol smooth vellum paper  
I used vine charcoal sticks and one 4B Generals charcoal pencil.

Thank you for visiting my blog site.  I hope this has been informing to you.
If you are interested in this work of art then please give me a email at deeweaver15@gmail.com or message me @ https://www.facebook.com/unique.artistry.3


Monday, June 15, 2015

Charcoal and Graphite Still Life Drawing


Martini Glass and Vase Still Life


Step 1 Crop off paper with masking tape


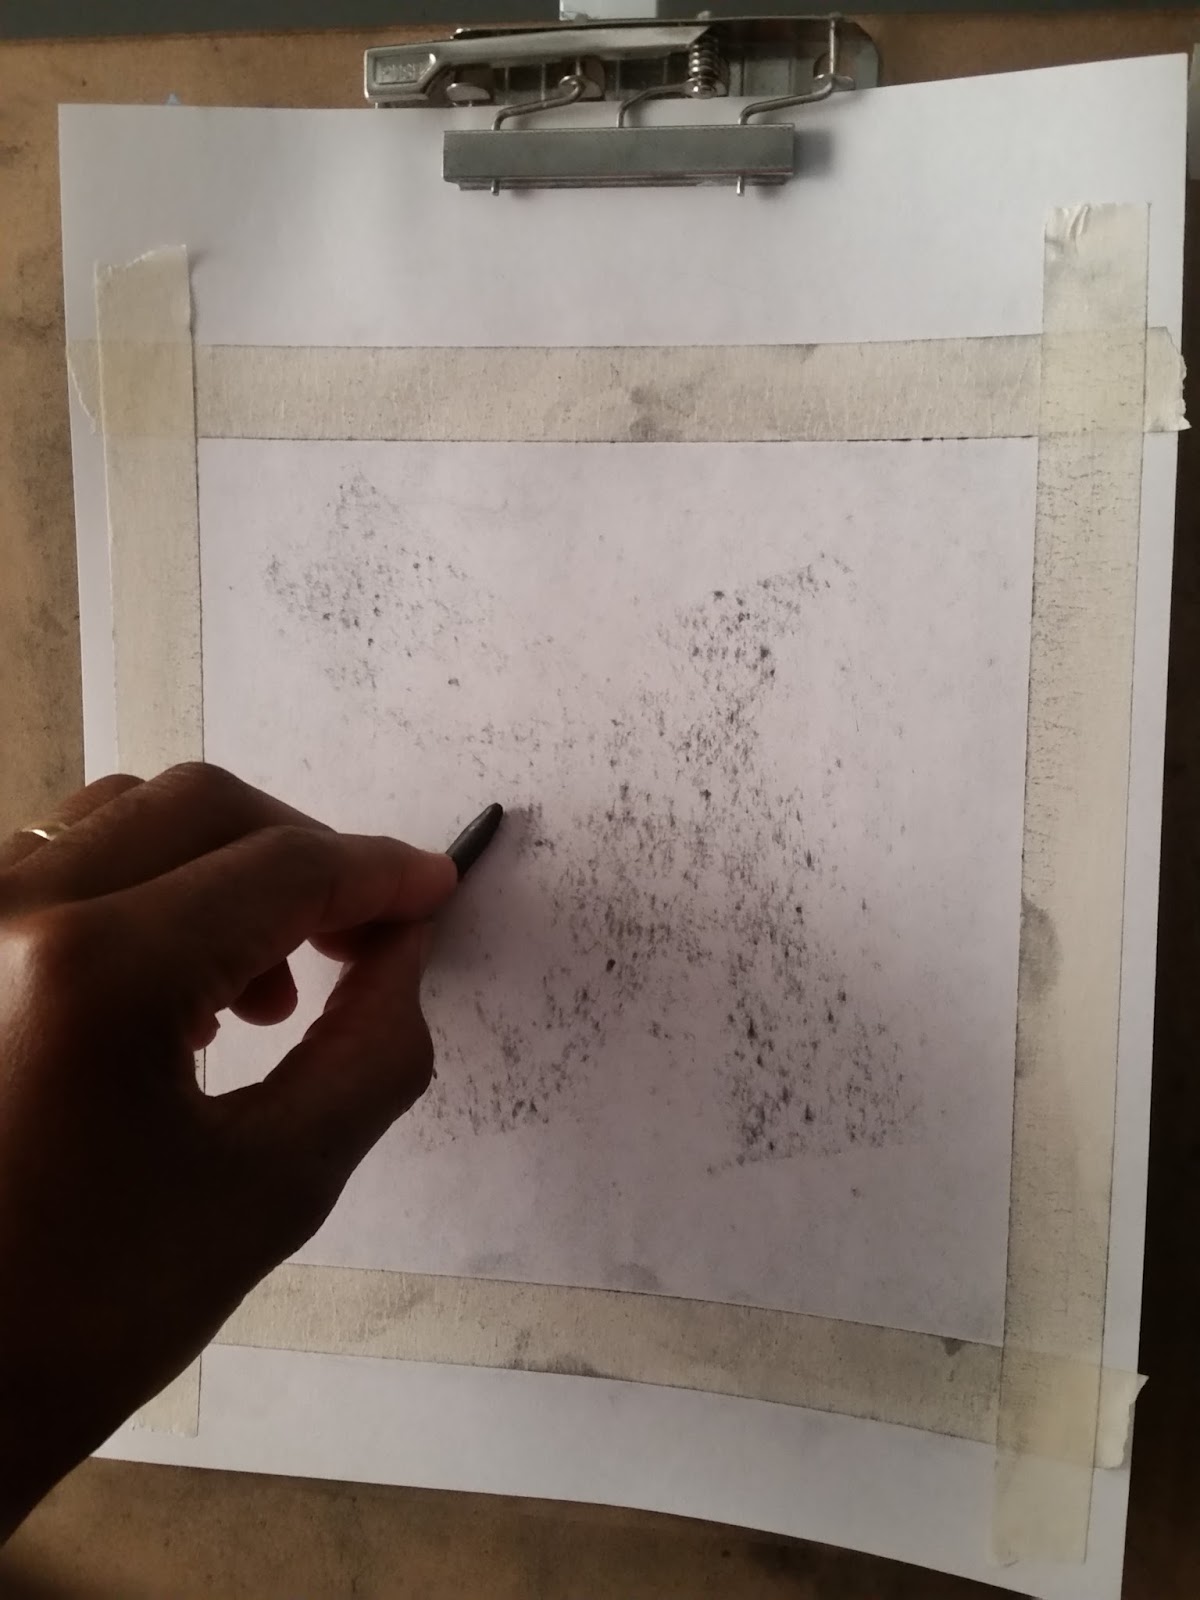
Step 2 Take the side of charcoal stick and rub all over the surface of paper.


Step 3 Use a chamois cloth by rubbing the charcoal into the paper till you get a light gray tone.


Step 4 This step is optional. I used a homemade view finder which I made to capture the vertical, 
            horizontal and diagnal lines to gauge the proportions.


Step 5  I used a pencil to gauge the width and vertical of the still life objects. I fully extended my arm with a pencil in hand and then closing one eye.  Afterward transfer measurements on to paper.


Step 6  I began connecting the measured widths, verticals and angles of the still life using a H4 pencil.


Step 7 Next began to add tone texture and contrast using a vine charcoal stick. In this photo I was adding detail and laying out shadows in the background.  I also used a skewer to extend the short charcoal with masking tape.


Step 8 I used a charcoal pencil 4B to add darker values and defined the details.  I also used a blending stick as in the photo in my hand. I used it to rub the charcoal into the surface of the paper.


Final Results